DOWNLOAD CENTER
Upgrade Your Office Environment with OfficeHub’s Versatile Features.
Easy
Integrate MFPs with solutions for efficient resource management and seamless rental equipment control.
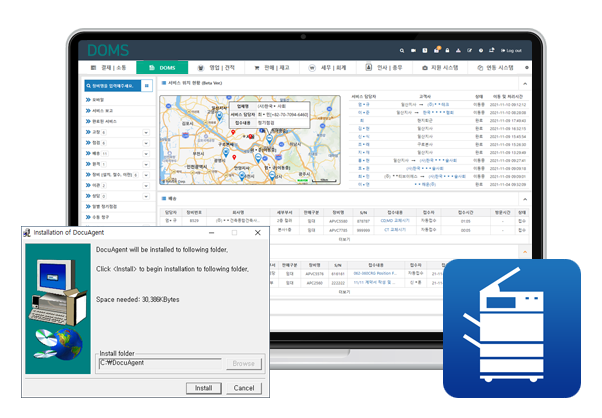
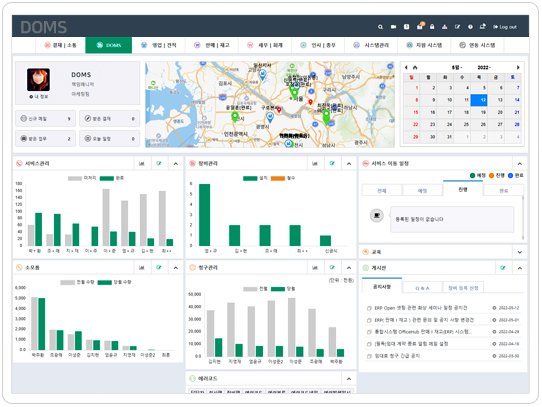
DOMS
Document OA Management SystemFully Remote MFP Management System" "Collect MFP data, finalize tasks, handle billing, and manage services—all without on-site visits. Boost productivity and business efficiency with DOMS
- Hidden Agent
- Flexible Solution Integration
- Seamless Service Support
- Easy MFP Data Collection
- Excel Download
- MFP Data Collection Target: All MFPs and printers supporting network connections
- Ultra-Simple Installation: Minimal customer PC interference (16MB)
- Management Data Collection: Client-installed Agent PC name & client WAN IP
- Data Collection Methods: Email notification service, PC Agent, Scripting (in progress)
- Direct Data Transfer: From our central collection server to partner servers
- Amended Tax Invoice Support
- Automatic Application: One-time installation applies to additional or replacement devices on the same network
Common Installation Guide
General Installation Methods & Recommendations- For unmanned security system users, installing the Agent on related servers is recommended
- Register the email notification service on the MFP and install the Agent on at least two client PCs
- If network cabling is difficult, use a wireless extender for network connection
- Priority Installation Targets: Non-functioning old versions → Large business sites → Replacement during routine maintenance
- Agent supports live auto-updates, but security Agent requires manual updates (on-site update required)
- It is recommended to enable the file hiding feature after installing the Agent
General Network
please ensure that the "Officehub Agent Monitoring" service is running.
If the service is not active after installation, please run the Updater againand check.
※ Note: If the service list window is open, the service may not be created properly.
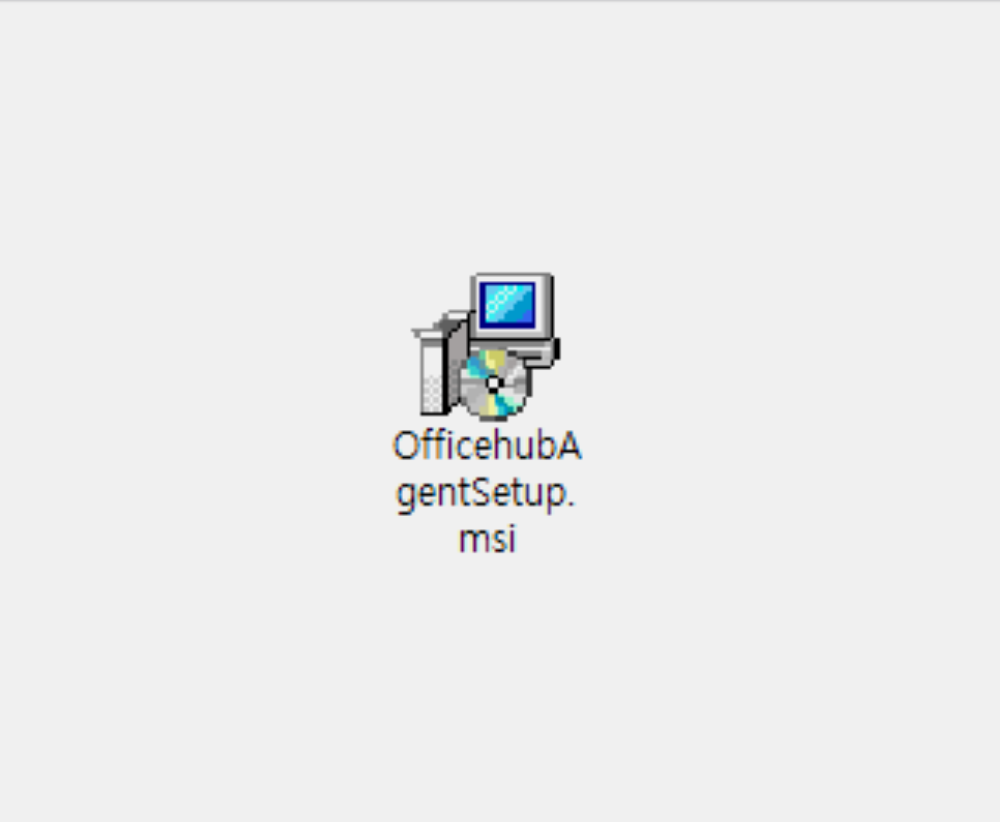
01 Run OfficehubAgentSetup.msi
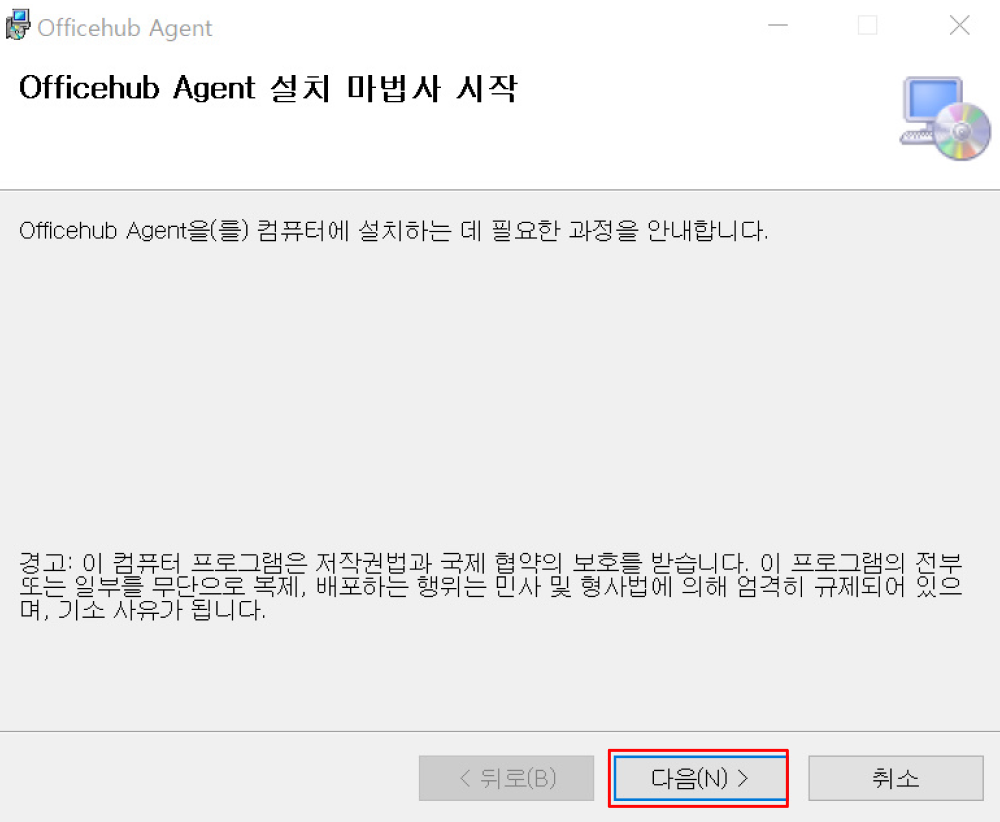
02 Start Agent Installation Wizard
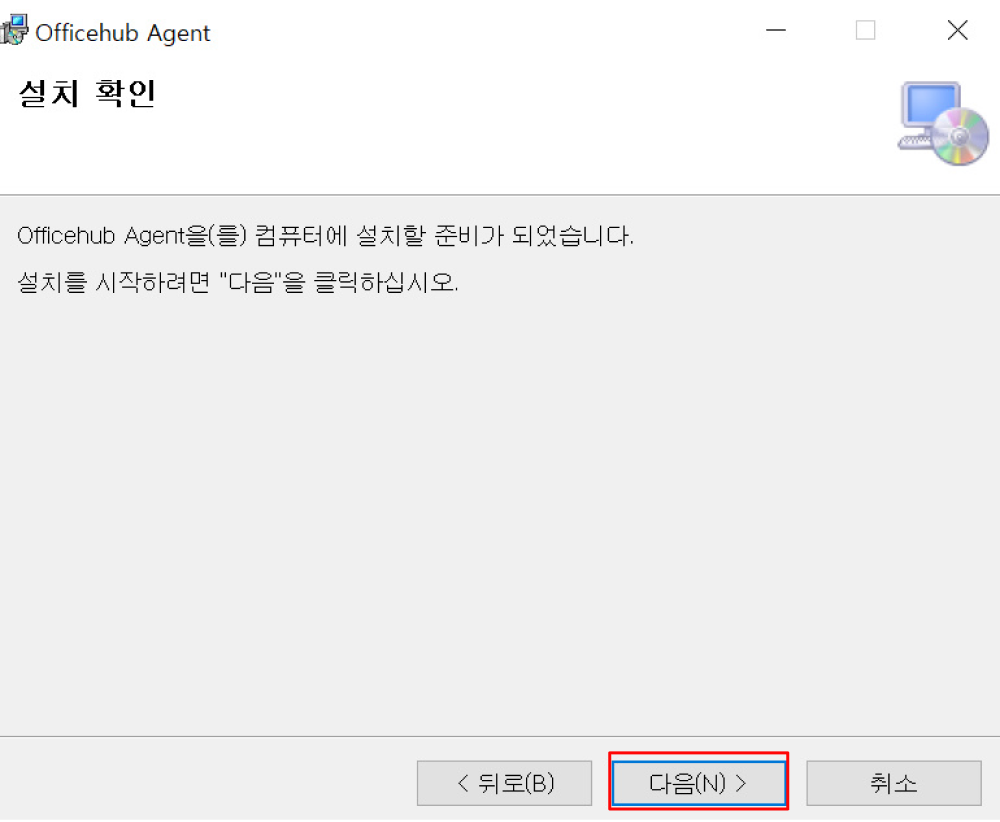
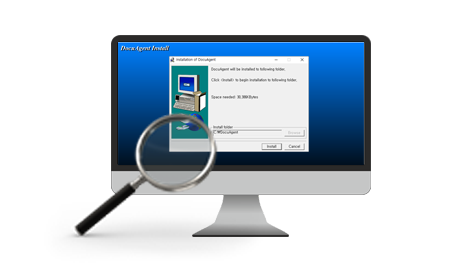
03 Confirm Installation
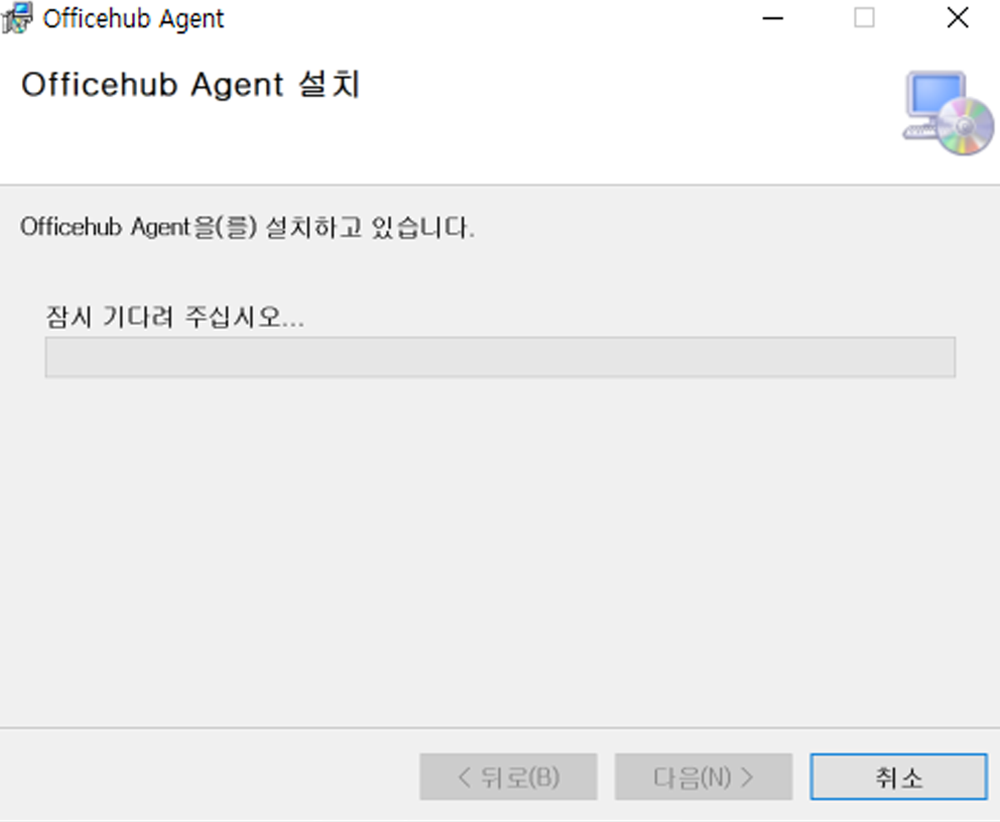
03 Proceed with Installation
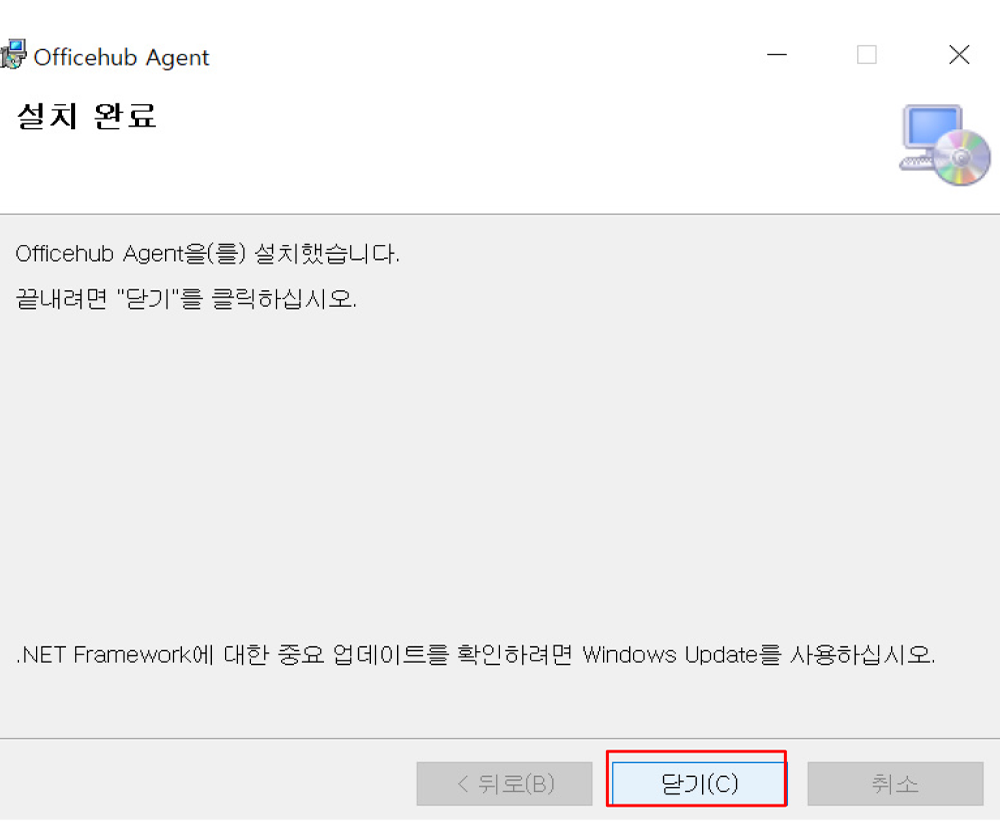
04Installation Complete
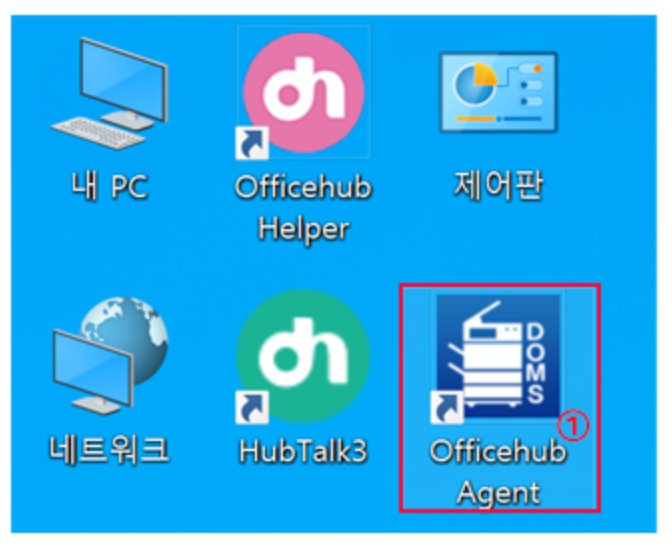
05 ① Run Installed Agent from Windows Desktop Shortcut
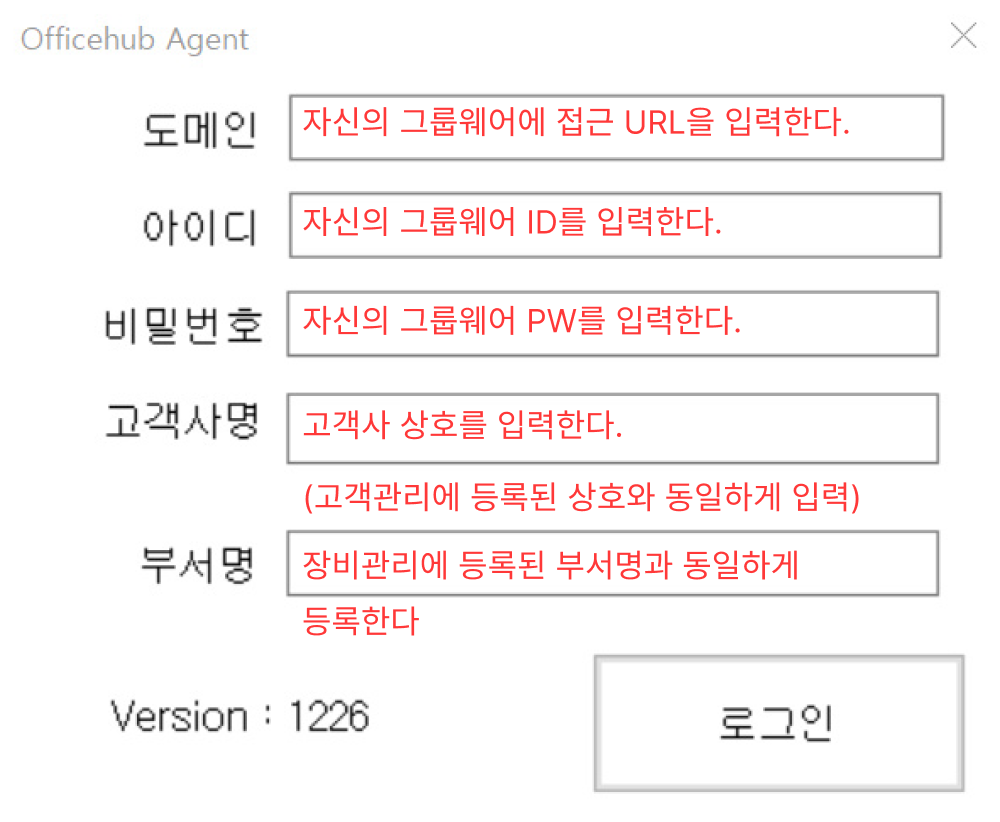
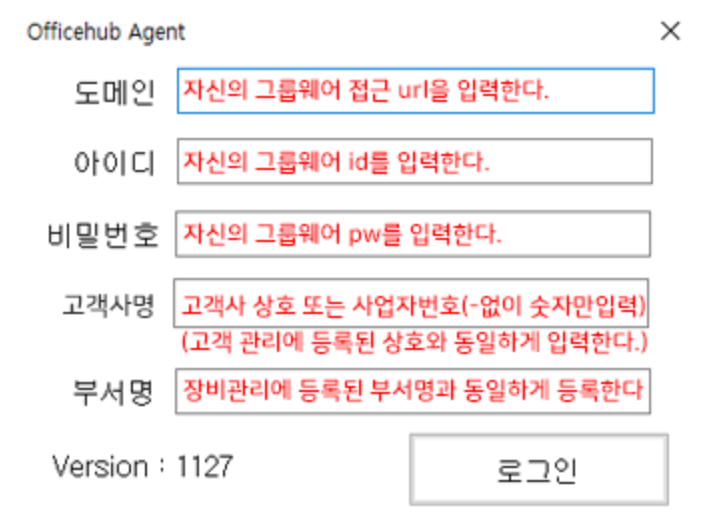
06 Enter Information
Enter Client Name: If multiple business locations exist within the same network, enter them as multiple entries.
Example:Docu (Enter) SamuGiMart Co., Ltd. (Enter) OfficeHub Co., Ltd. (Enter)
If multiple MFPs are located within a single network at the same client site, you only need to enter the client name when logging into the agent.
However, if the MFPs are in different locations (on separate networks), you must also include the client name and department name.
Since the system scans and uploads all detected device IPs upon login, identical IPs indicate the same device, which may affect other device information.
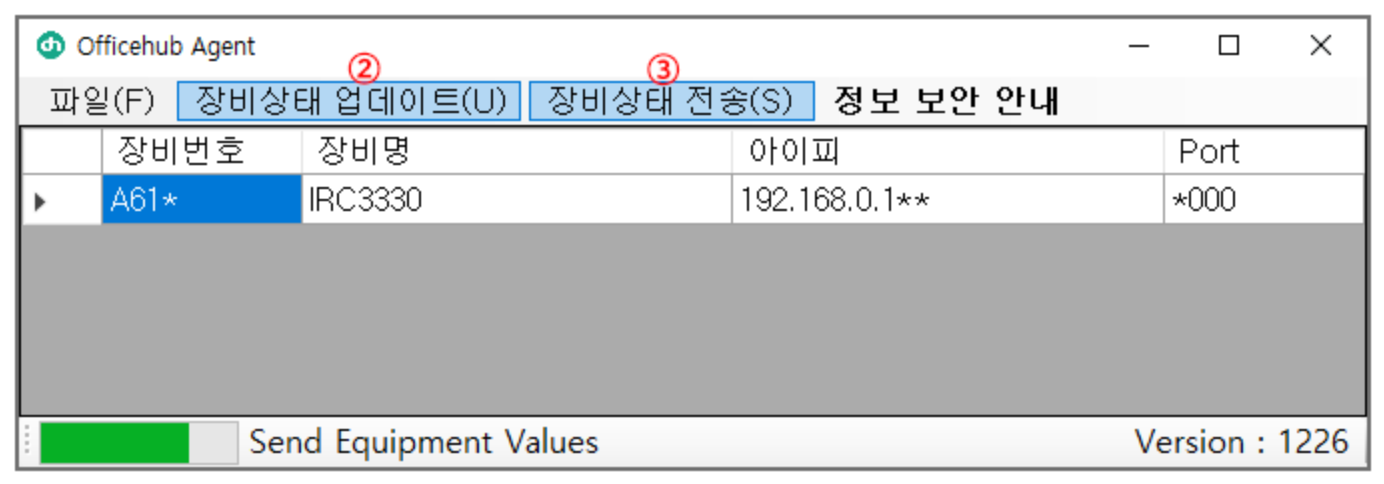
07
② Click 'Update Device Status' (Synchronizes registered devices in real-time)
③ Click 'Send Device Status' (Sends device status to the system in real-time)
※ After verifying the device status, it is recommended to delete the Officehub Agent shortcut from the desktop.
※ Deleting the shortcut is intended to minimize customer inconvenience (or resistance).
This does not uninstall the program; it only removes the icon from the desktop.
Common Installation Guide
General Installation Methods & Recommendations- For unmanned security system users, installing the Agent on related servers is recommended
- Register the email notification service on the MFP and install the Agent on at least two client PCs
- If network cabling is difficult, use a wireless extender for network connection
- Priority Installation Targets: Non-functioning old versions → Large business sites → Replacement during routine maintenance
- Agent supports live auto-updates, but security Agent requires manual updates (on-site update required)
- It is recommended to enable the file hiding feature after installing the Agent
please ensure that the "Officehub Agent Monitoring" service is running.
If the service is not active after installation, please run the Updater again and check.
※ Note: If the service list window is open, the service may not be created properly.
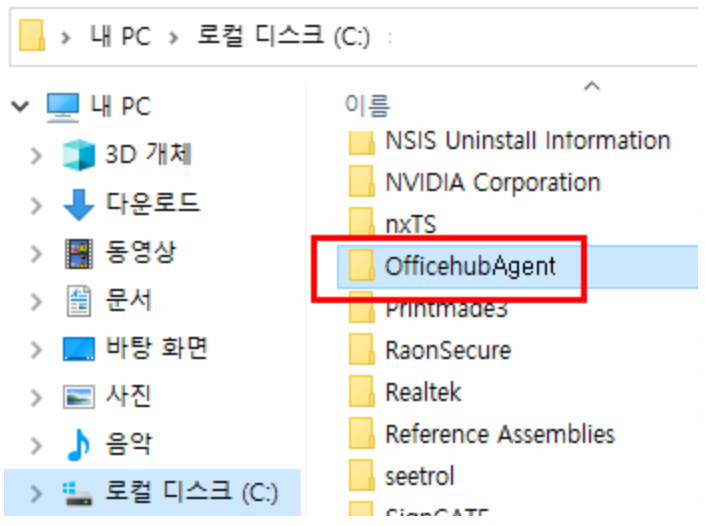
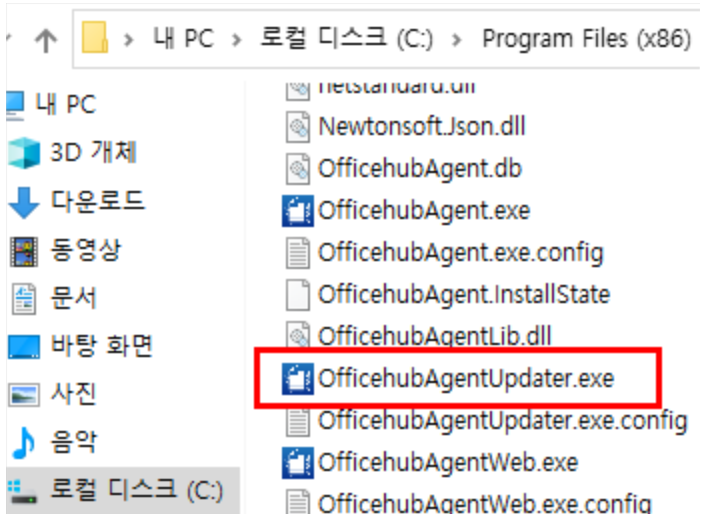
01 OfficehubAgent Folder Creation
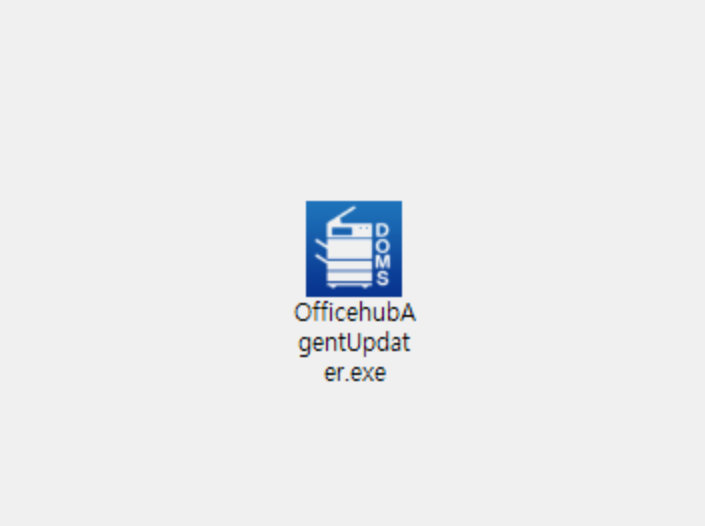
02 Click "OfficehubAgentUpdater.exe"
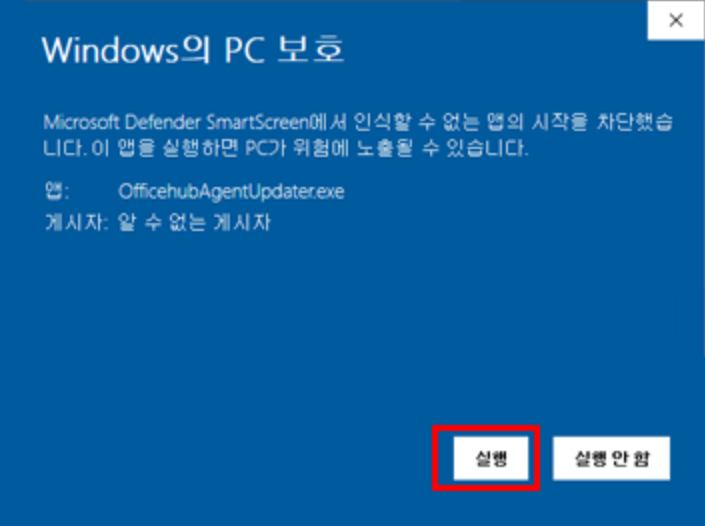
03 Install "OfficehubAgentUpdater.exe"
04 Click "OfficehubAgentUpdater.exe"
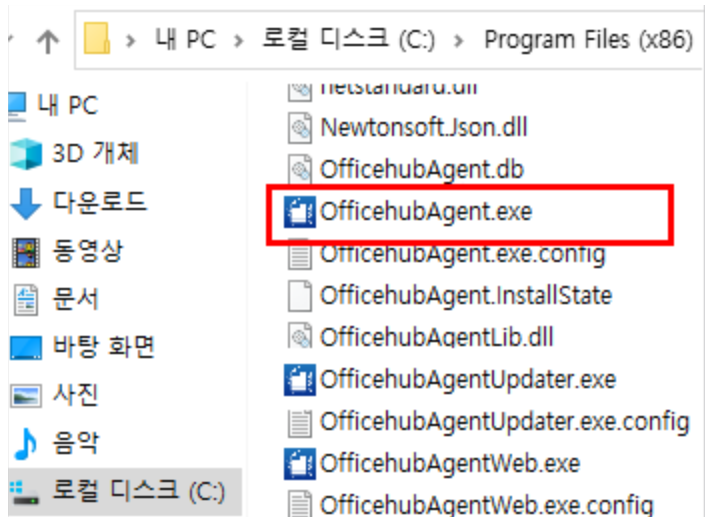
05 Click "OfficehubAgent.exe"
06
Enter the login screen.
-Enter Client Name: If multiple business locations exist within the same network, enter them as multiple entries.
Example:Docu (Enter) SamuGiMart Co., Ltd. (Enter) OfficeHub Co., Ltd. (Enter)